Last updated November 21, 2026
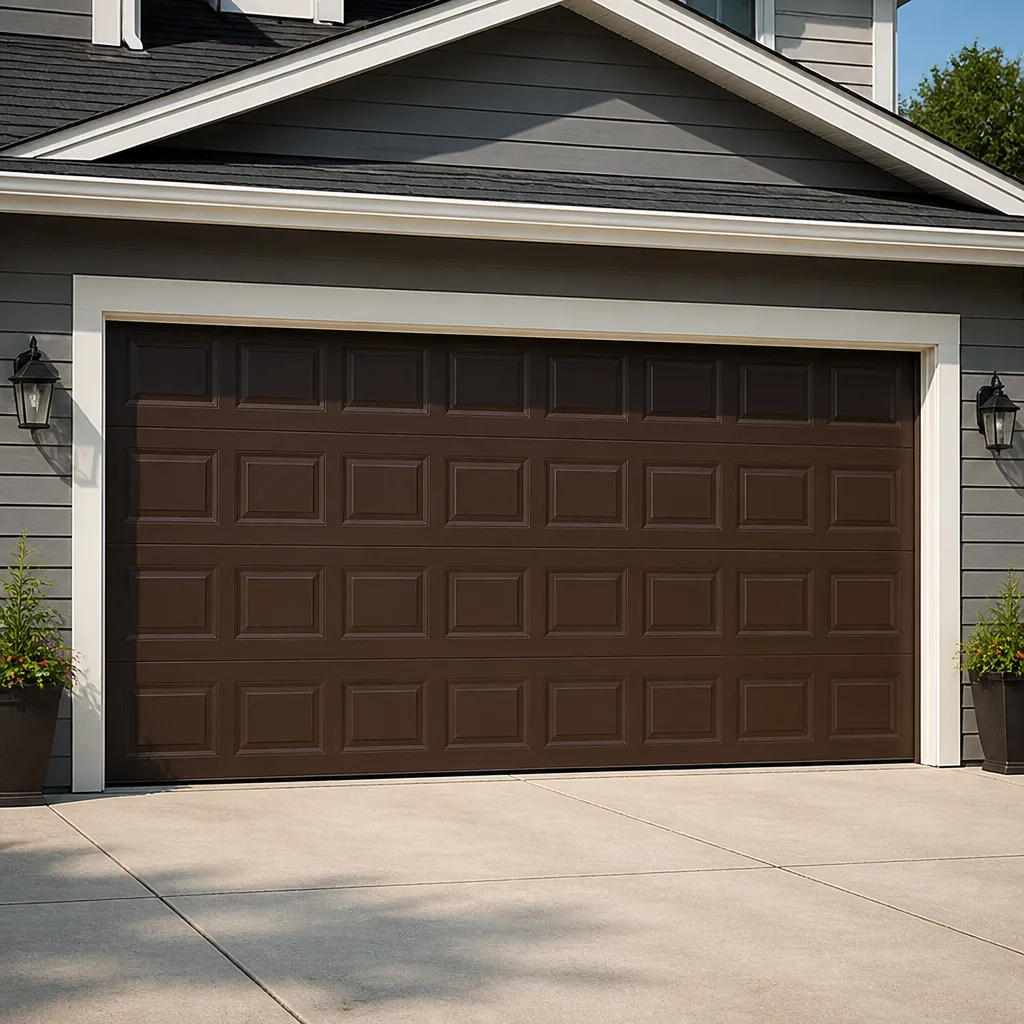 Raised-panel steel
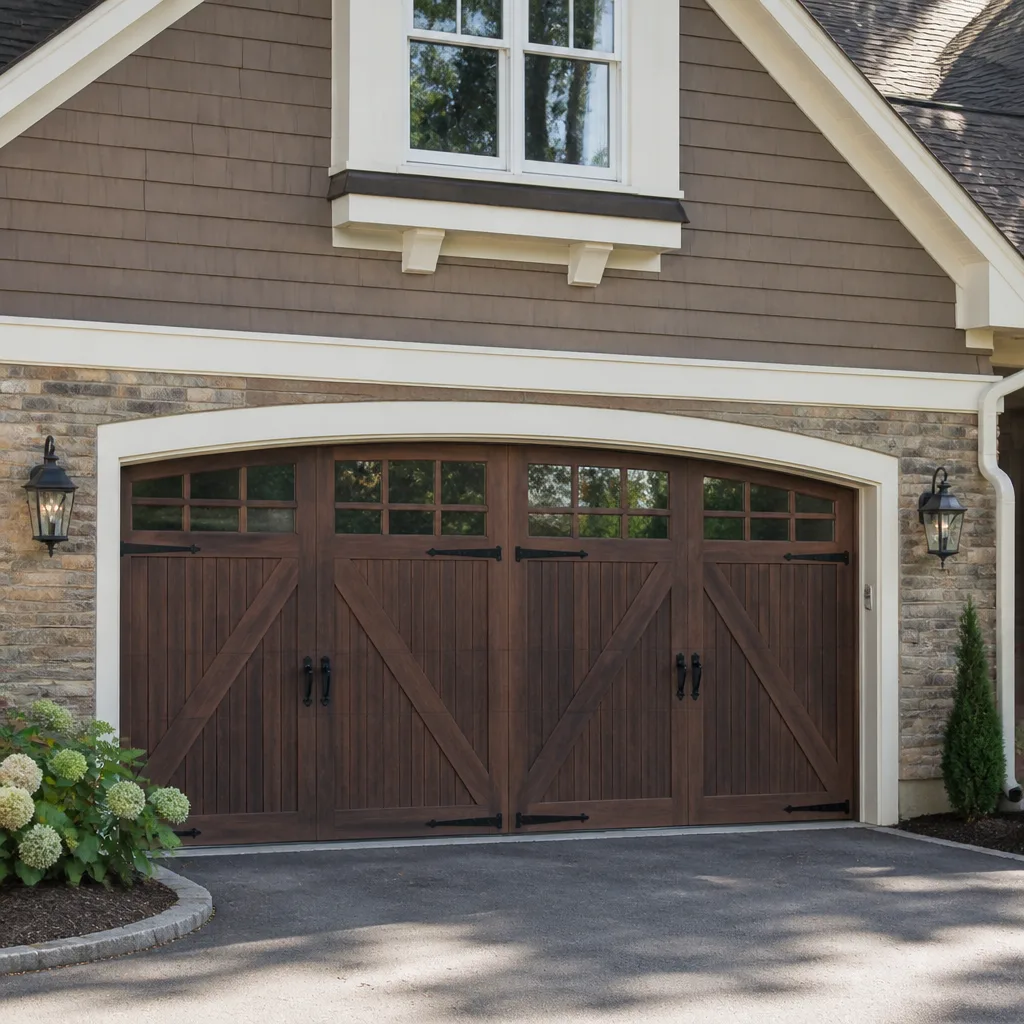 Carriage house
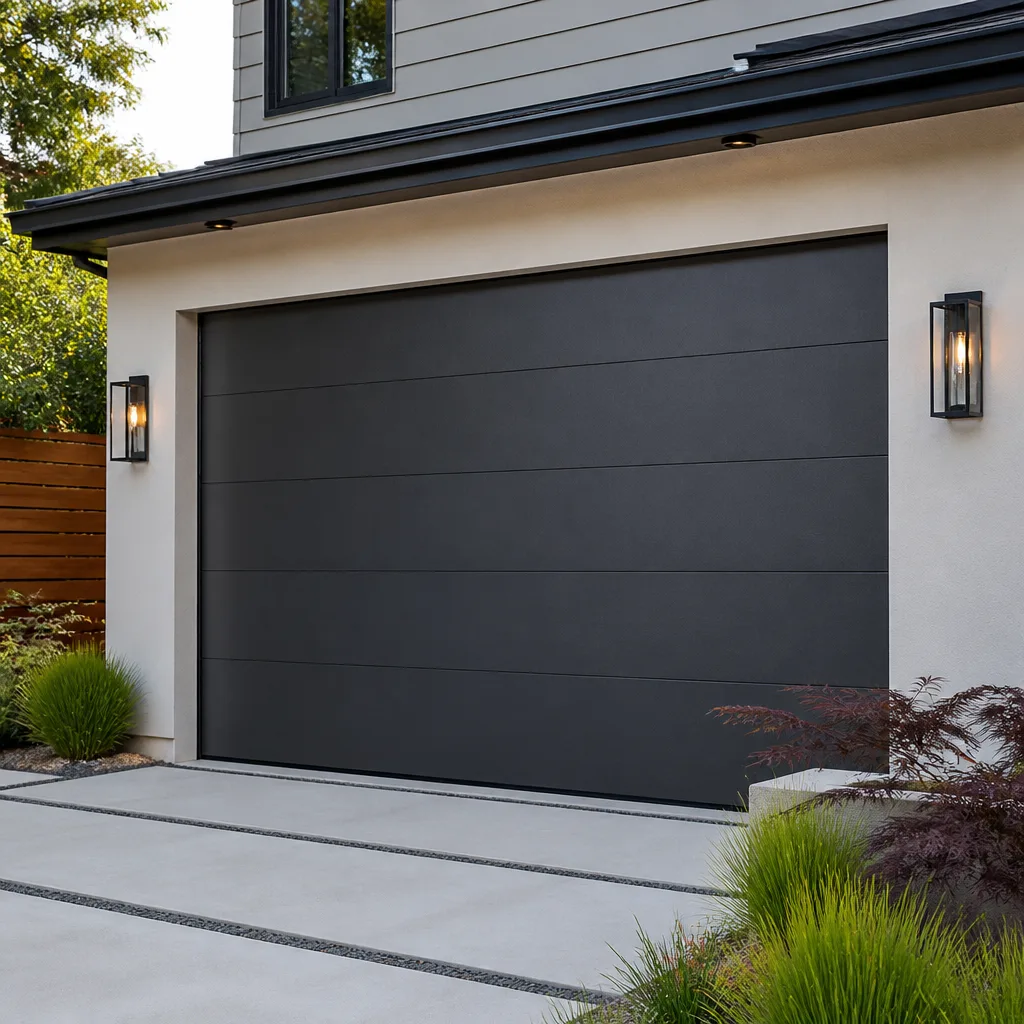 Modern flush
 Full-view glass
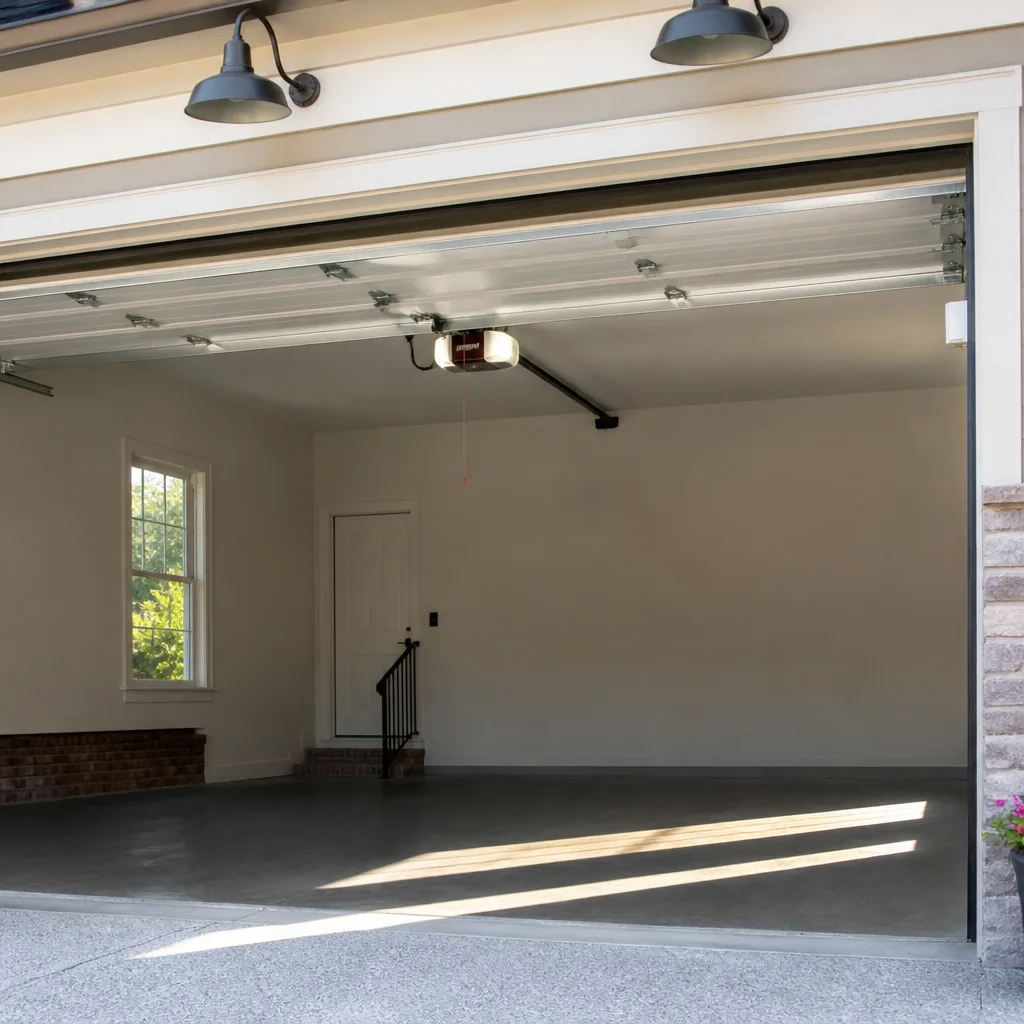 LiftMaster openers
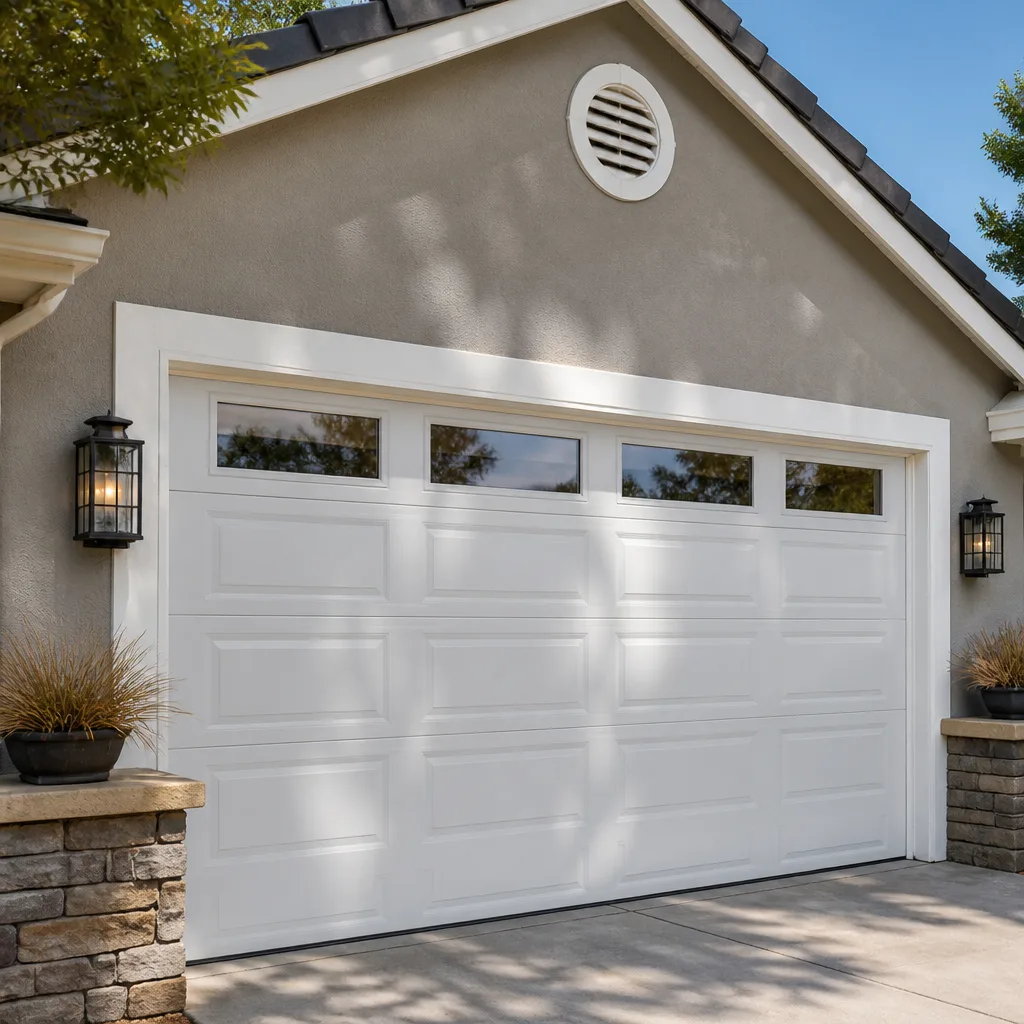 Chamberlain openers
Full 25-point door and opener safety check with every visit - springs, cables, rollers, tracks, and your LiftMaster or Chamberlain opener included
You get a price before we start. It does not change when the pro arrives.
Get your free estimateGarage Door Repair Maintenance Checklist for Mayfair Homeowners
Most printable garage door checklists tell you to “lubricate moving parts.” That advice is incomplete in a way that matters. Putting lubricant on a worn torsion spring doesn’t extend its life. It masks the metal fatigue until the spring lets go under full load, and that’s the moment a door becomes dangerous. The order you inspect things in matters as much as what you inspect. This guide gives you the sequence a trained technician actually follows: hardware under tension first, then moving parts, then electronics. You’ll learn how to read the warning signs on a torsion spring, which lubricant goes where, and how to time the work around a Mayfair winter and the freeze-thaw stretch that follows.
Quick Answer
A proper garage door maintenance checklist starts with the parts under tension (springs and cables, visual only), then moves to rollers, hinges, and tracks, then finishes with weatherstripping, opener force settings, and the safety auto-reverse test. Do the heavy inspection in October before winter and re-check the moving parts in April after freeze-thaw. In Mayfair, our technicians have up to 12 years of experience reading exactly these signals, and a trained eye can catch a spring that’s weeks from failing.
Styles & brands we work with
- Raised-panel steel
- Carriage house
- Modern flush
- Full-view glass
- LiftMaster openers
- Chamberlain openers
Table of Contents
- Why the Inspection Order Matters
- Step 1: Springs and Cables (Observe Only)
- Step 2: Rollers and Hinges
- Step 3: Tracks
- Step 4: Weatherstripping
- Step 5: Opener Force Settings
- Step 6: The Safety Reversal Test
- Seasonal Timing: October vs. April
Why the Inspection Order Matters
Alphabetical checklists and “walk around and look” routines miss the whole point. A garage door is a mechanical system under constant tension, and the components fail in a predictable relationship to one another. When a worn spring loses tension, the opener has to work harder to lift the door. That extra load stress on the opener can burn out a GearGenie or Chamberlain logic board long before its time. If you inspect the electronics first, you’ll see a struggling opener and assume the opener is the problem. It isn’t. The spring is.
Here’s the sequence our technicians follow, and the one we recommend for any Mayfair homeowner doing a DIY check:
- Springs and cables – observe only, no hands. These are under high tension and can injure you if they release.
- Rollers and hinges. Moving parts that wear and squeak.
- Tracks. The rails the door rides on.
- Weatherstripping. The seals that keep cold air and moisture out.
- Opener force settings and logic. The electronics.
- Safety auto-reverse. The final test, done last because it verifies everything above works together.
We run this same sequence on every garage door we inspect in Mayfair, from single-car doors in older homes to double-bay doors on newer construction. The order never changes, because the failure chain never changes. For a full-system look beyond the checklist, our Garage Door Repair Mayfair service covers the entire door and opener together, not just the part that’s squeaking.
Step 1: Springs and Cables (Observe Only)
Springs are the heart of the system and the most dangerous part to touch. A standard torsion spring holds enough stored energy to cause serious injury if it snaps while you’re near it. So this step is visual only. Look, don’t touch. Get close enough to see the spring clearly, but keep your hands off the winding cone and cables.
What to look for on a standard torsion spring, in order of urgency:
- Gap formation. A torsion spring should be one continuous coil. If you see a visible gap or separation between coils, the metal has already started to fail.
- Rust pitting. Surface rust is normal; deep pitting that creates rough craters in the metal means the spring is weakened internally.
- Coil deformation. A spring that looks stretched, uneven, or wavy compared to its original shape has lost tension.
- Cable slack or fraying. Cables should be taut and clean. Frayed strands or drooping cable are red flags.
On a lift-cable extension spring system, you’ll see the spring running along the horizontal track; the same rules apply. If you spot any of those four signals, the spring is likely within about 90 days of breaking. Don’t wait for it to snap. A snapping torsion spring can drop a door with alarming force, and a snapped cable can whip. This is exactly the repair we handle most in Mayfair, and it’s the one we most often see homeowners try to postpone. Don’t.
Safety note: Spring and cable replacement involves releasing stored tension with specialized winding bars. This is not a DIY job. A trained professional has the tools and the technique to do it safely, and doing it wrong can lead to serious injury. When you see a spring that’s failing, call us rather than try to fix it yourself.
Step 2: Rollers and Hinges
Once you’ve cleared the springs and cables, walk the door and inspect every roller and hinge. Rollers ride inside the tracks and take the brunt of daily wear. Hinges connect the door panels and flex every time the door opens. Both wear out long before the springs do, and both are cheap to address when caught early.
What to check:
- Roller wear. Nylon rollers are quiet and long-lasting; steel rollers are noisier but durable. A roller with a flat spot, a damaged wheel, or grinding sound needs replacing.
- Hinge looseness. A hinge that wobbles or shows a cracked plate is a failure waiting to happen. Tighten the screws; replace the hinge if the metal is cracked.
- Lubrication. This is where the “lubricate moving parts” advice actually applies, and it matters which product you use. White lithium grease goes on hinges and roller stems. A few drops per hinge, worked into the roller stem, is all it takes.
We see far too many doors in Mayfair where a homeowner sprayed WD-40 on every moving part and called it maintenance. This is often a mistake: a light solvent spray isn’t a proper lubricant for hinges and roller stems and can attract dust. White lithium grease is what we use. Apply it sparingly, and wipe off any excess so it doesn’t collect grit.
Step 3: Tracks
Tracks look simple, but they’re precision surfaces. The door’s rollers ride inside the track, and any dent, bend, or debris buildup can throw the door off balance, strain the opener, and cause the door to jam or come off its track. This is a common problem during a Mayfair winter, when ice and grit get pushed into a track near the driveway.
Check three things:
- Straightness. Look down the track from the end. A curve or dent should be visible. A bent track needs to be straightened or replaced; don’t bash it with a hammer yourself.
- Debris. Clear any buildup of leaves, grit, or ice from inside the track. Use a rag or a soft brush.
- Lubrication – none. This is the counterintuitive one. Do not lubricate the tracks. The door’s rollers are designed to roll, not slide, and grease in the track can cause the rollers to skate or clump with dirt. Keep the tracks clean and dry.
If the tracks look bent or misaligned, that’s a structural issue, not a maintenance task. We can straighten or replace them as part of a garage door repair visit, and doing it correctly prevents the door from jumping its track later.
Step 4: Weatherstripping
Weatherstripping is the least glamorous part of the checklist and the one that directly affects your home’s energy bills and comfort. The bottom seal, the side seals, and the top seal together keep cold air, moisture, and pests out. In Mayfair, a worn bottom seal lets in cold winter drafts and lets melting snow seep around the door, which is a leading cause of a damp garage floor and rusted bottom brackets.
How to check:
- Close the door and stand inside with the garage lights off. Look for daylight around any edge.
- Run your hand along the seal. It should feel pliable. A hard, cracked, or brittle seal needs replacing.
- Look for a bottom seal that’s torn, flattened, or missing chunks.
This is where silicone spray belongs. It keeps the rubber and vinyl seals from drying out and cracking, especially through the Mayfair freeze-thaw cycle. Apply a light coat of silicone spray to the seals, not to the tracks, and not to a rubber that’s already badly cracked. If the seal is gone, replacement is affordable and makes a noticeable difference to how much cold air and moisture reaches your floor.
Step 5: Opener Force Settings
The opener is the brain of the system, and the force setting is its most important adjustment. Force settings determine how hard the opener pushes before it stops. If it’s set too high, the opener won’t stop if it meets an obstruction, which is a safety problem. If it’s set too low, the door will stop or reverse before it’s fully closed, and you’ll be left holding the button.
On most openers (LiftMaster, Chamberlain, Genie, and Craftsman are the brands we see most in Mayfair), you’ll find the force adjustment on the back or side of the motor unit, often with two knobs or a digital menu. The right method:
- Note the current setting before you change anything.
- Turn the force down slightly and test the door through a full open-close cycle.
- If the door opens and closes fully without stalling, you’ve found the right setting. If it stalls, increase it a hair.
- Re-test the safety reverse (see next step) after any adjustment.
A door that’s suddenly struggling to open is often not a force-setting problem at all – it’s a worn spring or a binding track. That’s why we test the force setting after checking the mechanical parts. A logic board failure on a Genie or Chamberlain unit can also cause erratic operation, and that’s a job for our garage door opener repair specialists.
Step 6: The Safety Reversal Test
This is the single most important test on the checklist, and it’s the one most homeowners skip. The auto-reverse is a safety feature that stops and reverses the door if it meets an obstruction. It must work every time.
Here’s how to test it with a 2×4 board:
- Place a piece of 2×4 lumber flat on the ground in the center of the door’s path.
- Press the opener button to close the door.
- Watch what happens. The door must make contact with the board and reverse direction.
The pass/fail threshold: the door must reverse before 2 seconds of contact with the board. If the door pushes down on the board for longer than 2 seconds or doesn’t reverse at all, the safety setting needs to be adjusted or the opener needs repair. This specific test, and this exact threshold, is the industry-standard check for the auto-reverse function. A door that fails this test is a child-safety hazard.
Also test the photo-eye sensors: wave an object in front of the sensors while the door is closing. If the door doesn’t reverse, the sensors are misaligned or the wiring is faulty. We check both on every inspection. If your door fails either test, stop using the automatic function and call us before someone gets hurt. For a full list of what a professional tune-up includes, our garage door installation team also handles full replacements if your current system is beyond repair.
Seasonal Timing: October vs. April
A checklist done once a year is better than nothing, but the timing matters. In Mayfair, the two seasons that stress a garage door hardest are winter cold and the freeze-thaw transition that follows. That gives you two natural maintenance windows: October and April.
October – before winter:
- Full visual inspection of springs and cables (the cold makes metal more brittle, so this is the critical pre-winter check).
- Grease all hinges and roller stems so they don’t seize in the cold.
- Inspect and silicone-spray the weatherstripping before the first hard freeze.
- Clear tracks of grit and leaves; check that the door seats firmly against the floor seal.
- Test the auto-reverse; a door that reverses slowly in summer may fail in cold weather.
April – after freeze-thaw:
- Re-check weatherstripping for cracking that developed over winter.
- Clear track channels of any debris, salt, or grit pushed in over the season.
- Re-lubricate hinges and rollers (the grease can degrade over a cold winter).
- Re-test the safety reverse and the force settings; both can drift over a heating-and-freezing cycle.
- Look for any new rust on springs or cables.
Doing the heavy inspection in October protects you before the worst weather, and April catches what winter broke. If you want one tune-up a year instead of two, October is the more important one in Mayfair.
Common Mistakes to Avoid
- Lubricating a worn spring. Oil or grease on a torsion spring can trap grit and won’t fix the underlying metal fatigue. A worn spring is a replacement, not a lubrication job.
- Greasing the tracks. The tracks should stay clean and dry. Grease causes rollers to skate and collect dirt, which leads to jamming.
- Using WD-40 as a lubricant. It’s a solvent, not a heavy-duty grease. Use white lithium grease for hinges and rollers and silicone spray for seals.
- Skipping the 2×4 safety test. A door that pushes on an object for too long before reversing is a hazard. Test it every few months, not once a season.
- Adjusting force settings to compensate for a worn spring. Turning up the force when the door struggles makes the opener work harder and can burn out a logic board. Find the real cause first.
- Trying to remove or “re-tension” a torsion spring yourself. This is the most common cause of serious garage door injuries. Call a trained professional.
- Ignoring a 90-day spring warning. Gap formation, rust pitting, and coil deformation are not cosmetic. Address them now, not after the door drops.
See the difference
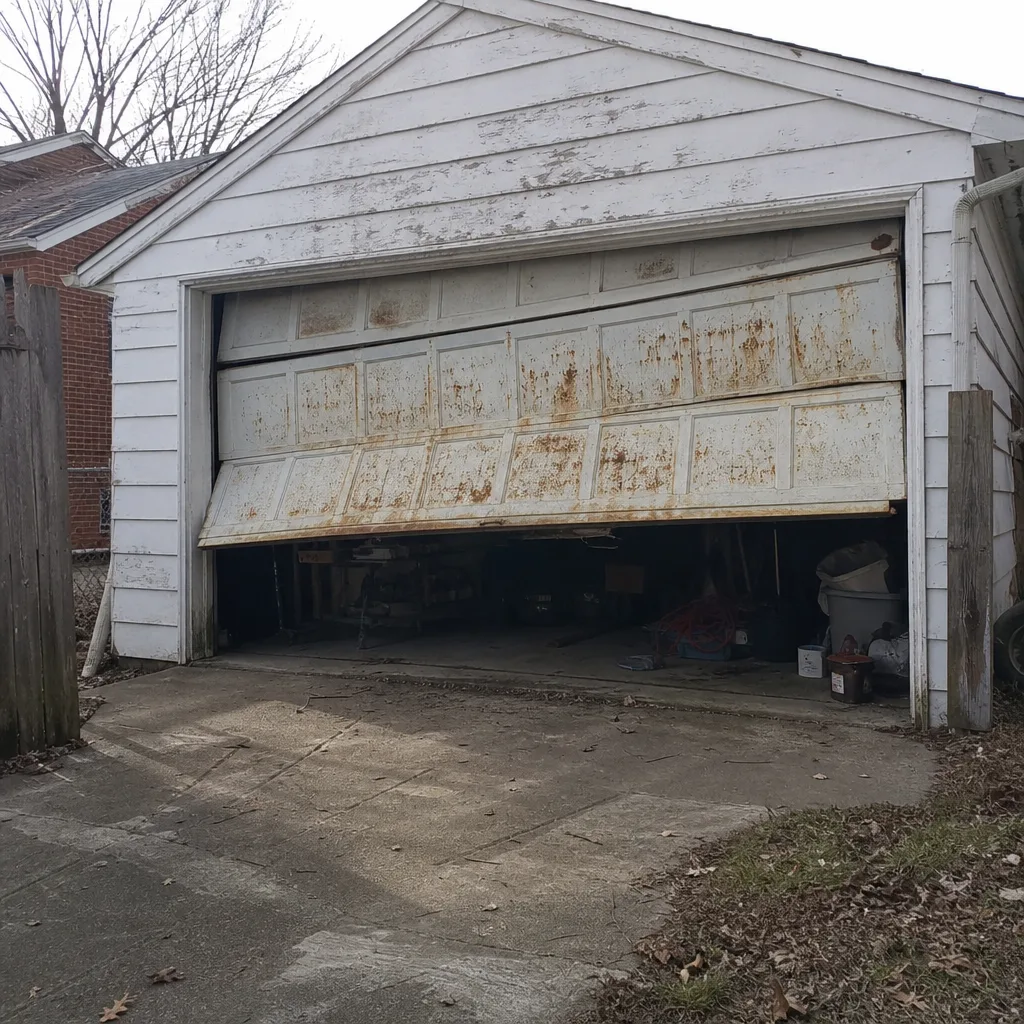 Before
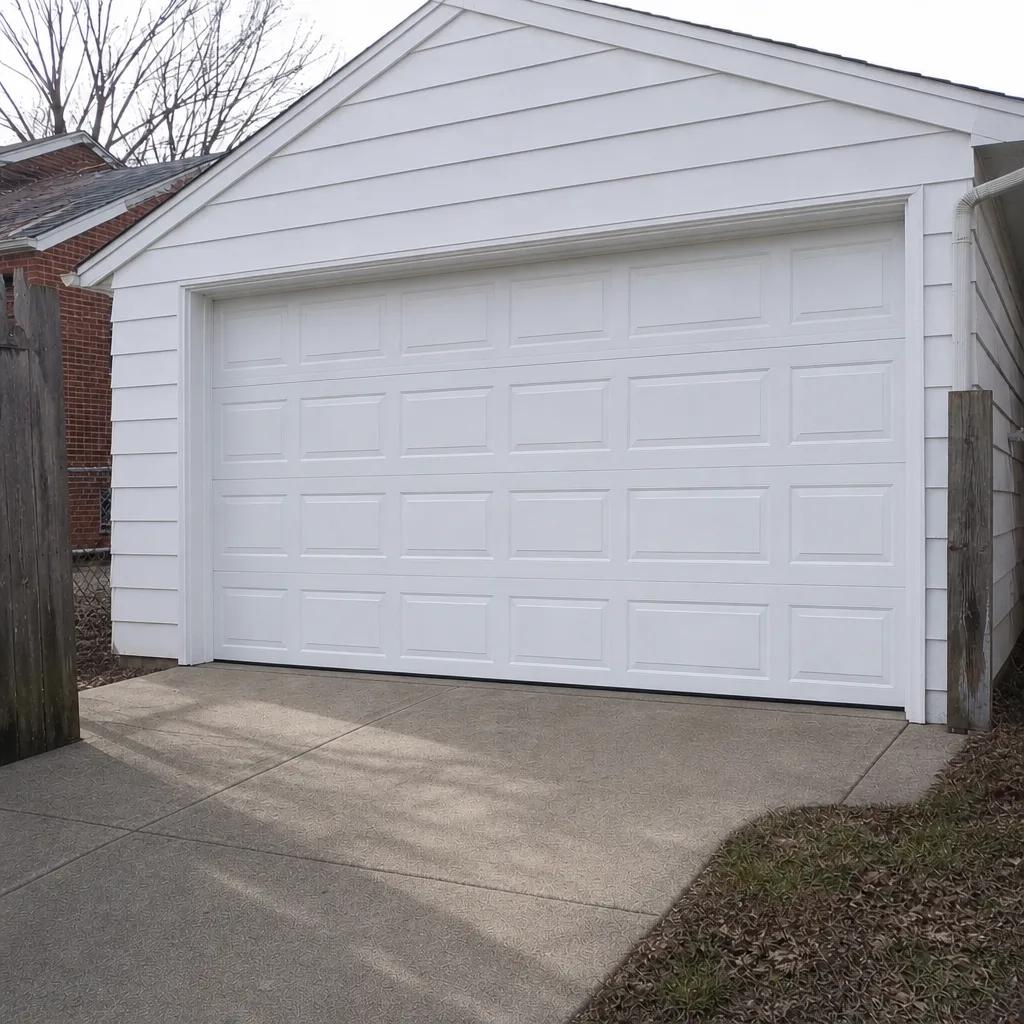 After
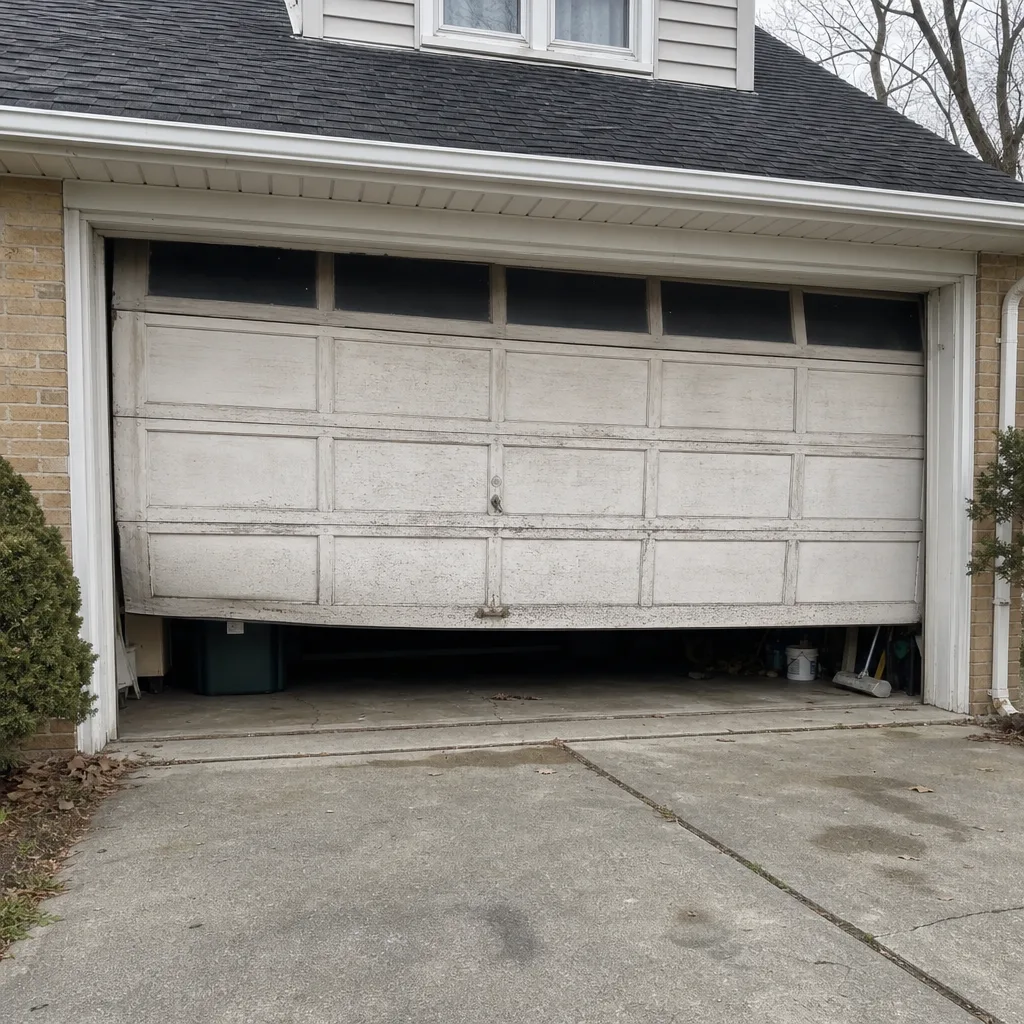 Before
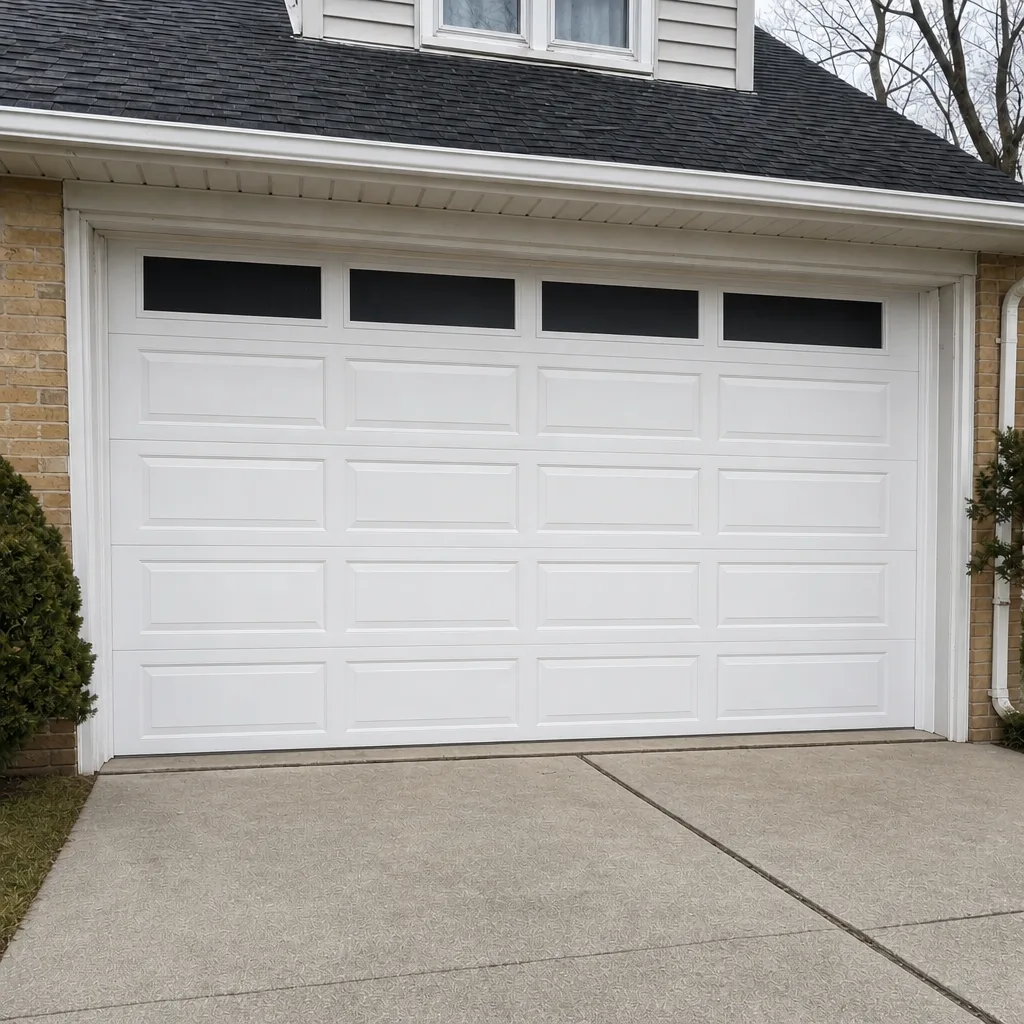 After
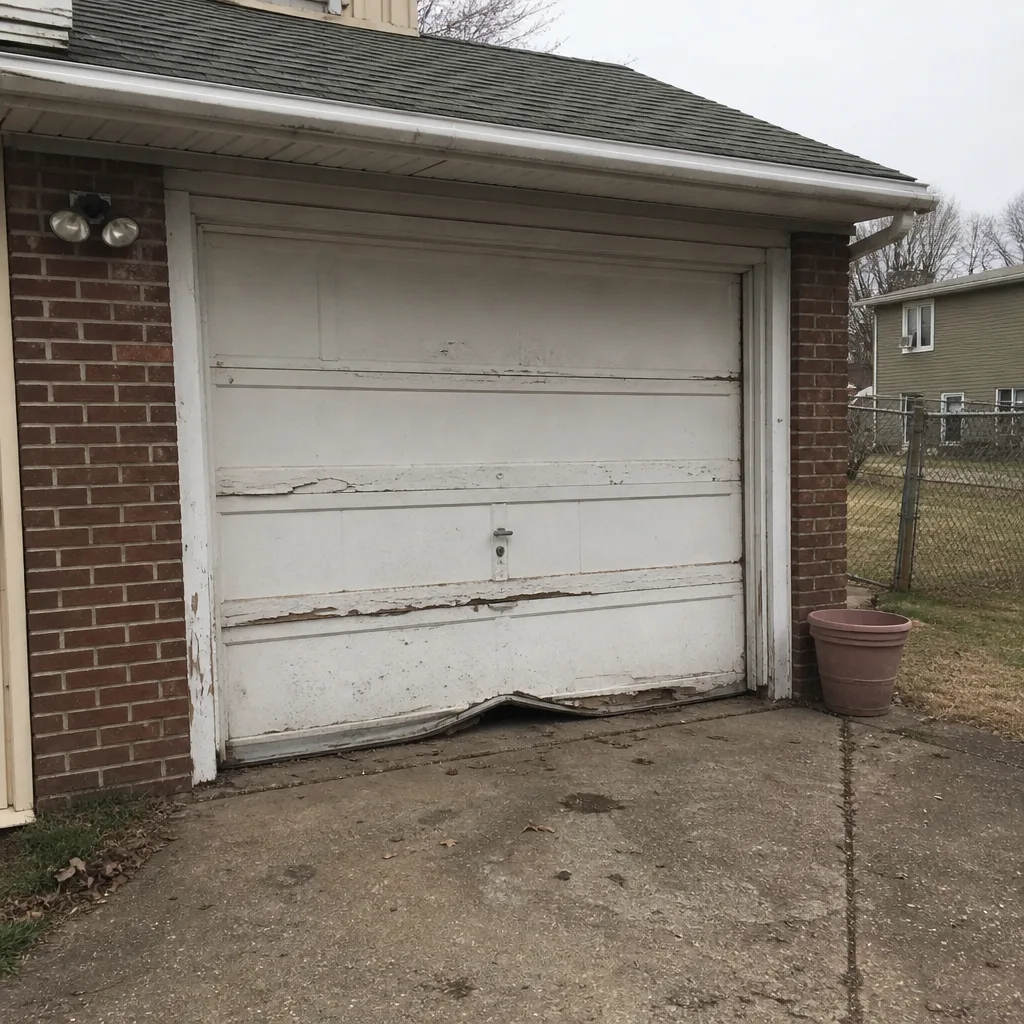 Before
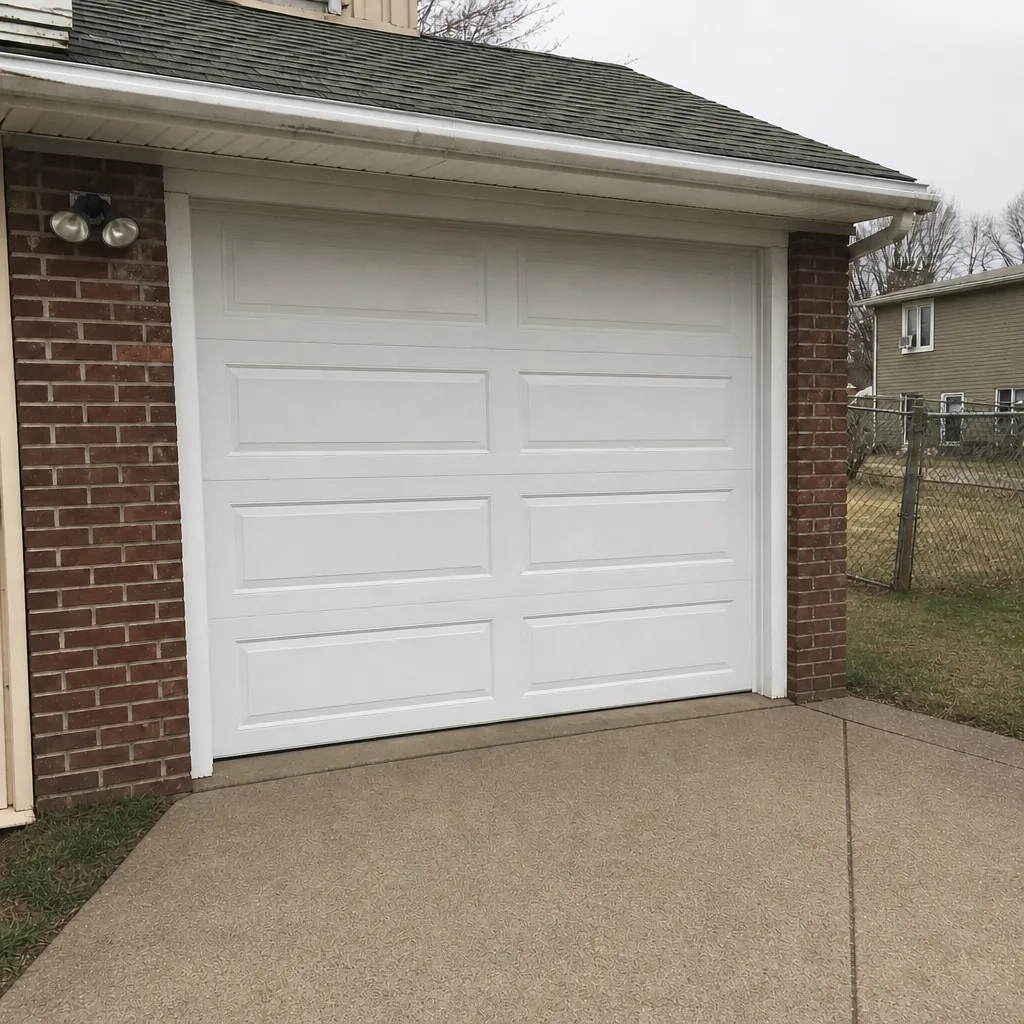 After
When to Call a Professional
Most of the checklist above is safe for a homeowner to do: visual checks, greasing hinges, clearing tracks, spraying seals, and running the reverse test. But some situations require a trained technician, and it’s worth knowing which. Call a professional if you spot any gap, rust pitting, or deformation on a torsion spring; if a cable is frayed or slack; if the door fails the 2-second reverse test; if the tracks are bent or the door has come off its track; or if the opener starts behaving erratically after you’ve adjusted the force settings.
Our technicians have up to 12 years of experience and work on both halves of the system, door and opener, across brands like LiftMaster, Chamberlain, Genie, Clopay, Amarr, Wayne Dalton, Craftsman, and Raynor. Garage Door Repair Mayfair offers free estimates in Mayfair – call (833) 468-5701. We quote the price and agree it with you before any work starts, so you’ll know the cost before we touch the door.
Frequently Asked Questions
Once a year is the minimum, but in Mayfair we recommend a full inspection in October before winter and a lighter check in April after freeze-thaw. Springs and cables should be visually checked more often, and the auto-reverse should be tested every few months. Call (833) 468-5701 for a free estimate if you’re not sure when your door was last serviced.
Yes, for the safe parts. White lithium grease on hinges and roller stems, and silicone spray on the weatherstripping, are both safe DIY tasks. Never lubricate the tracks, and never put anything on a torsion spring or cable. If you’re unsure which product goes where, ask us before you spray.
Look for gap formation between coils, deep rust pitting, and coil deformation. Any of those means the spring is likely within about 90 days of failing. A standard torsion spring should be one continuous coil, so a gap or wavy shape is a real warning sign. Don’t touch it – call a professional who can replace it safely.
It’s the standard test for the auto-reverse. Close the door onto a 2×4 board laid flat on the ground. The door must reverse before 2 seconds of contact. If it doesn’t, the safety setting is wrong or the opener needs repair, and you should stop using the automatic function until it’s fixed.
Winter cold hardens the grease on hinges and rollers, and the freeze-thaw cycle can bend tracks or weaken a spring that was already close to failing. Clear the tracks, re-grease the moving parts, and check the springs before you adjust the force setting. If the door still struggles, the spring may need replacing.
Most repairs don’t require a permit, but local rules vary. If you’re replacing a door or making structural changes, check with Mayfair’s building department before the work starts. We quote the full job before any work begins, so you’ll know what’s involved either way.
The Bottom Line
A garage door checklist is only as good as its order. Springs and cables first, by eye and hands off. Then rollers and hinges with white lithium grease. Then clean, dry tracks and silicone-sprayed seals. Then force settings, then the 2×4 safety test. Do the heavy work in October, re-check after freeze-thaw in April, and treat any gap or rust on a torsion spring as a 90-day warning, not a cosmetic issue. The moving parts are yours to handle; the parts under tension are not. When the checklist turns up something under tension or a failed safety test, that’s the point to call a professional. Garage Door Repair Mayfair offers free estimates in Mayfair – call (833) 468-5701 and we’ll quote the price before we start.
Written by the team at Garage Door Repair Mayfair.